To install iHomeServer on your Windows Home Server v1 server:
-
Download iHomeServer from our web site -
www.bizmodeller.com - to the computer you normally use to manage your WHS Server. When you are on the download site, please ensure you correctly select your Operating System from the drop down list as the installation media is different per OS.
-
Open up "Shared Folders" from the WHS tray icon. Navigate to the Software shared folder, find the "Add-ins" sub-folder and copy the iHomeServerConsole32.msi file you downloaded in step [1] to this Add-ins folder
-
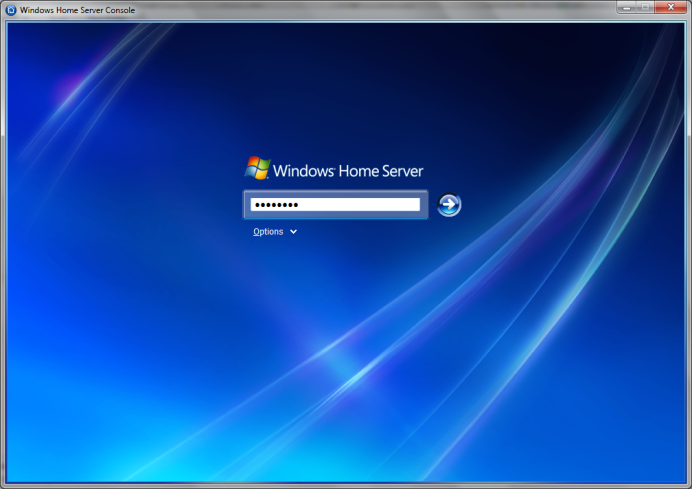
Open the WHS Dashboard and log-in
-
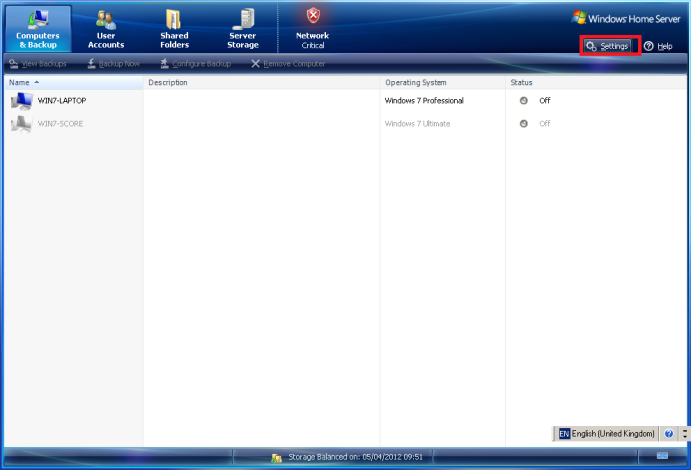
Once logged in, click the 'Settings' button:
-
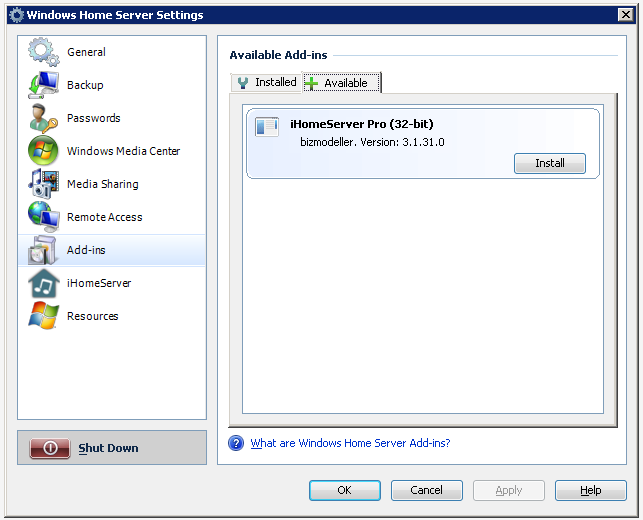
In the Settings window, choose 'Add-ins' and select the 'Available' tab on the right hand side:
-
Select 'Install'; the add-in will automatically install. You will then be asked to close and re-login to the Dashboard.
-
Once you log back in, select the iHomeServer add-in installed in the Windows Home Server toolbar:
-
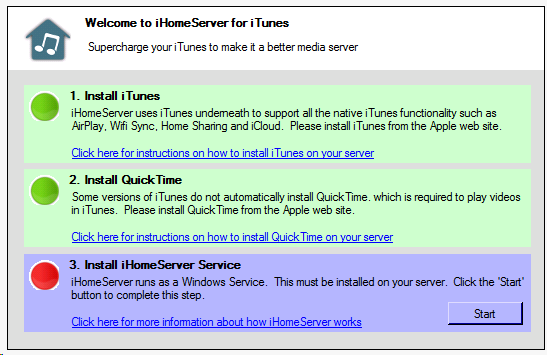
Click on the iHomeServer tab. iHomeServer will initially check that the installation pre-requisites have been met:
-
-
-
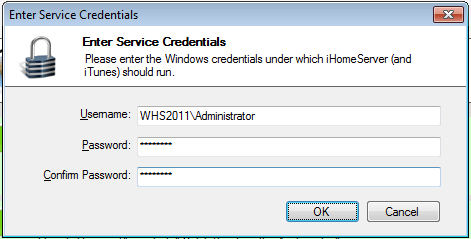
Enter your username in the form [SERVERNAME]\[USERNAME] eg WHS01\Administrator, and click 'OK'
-
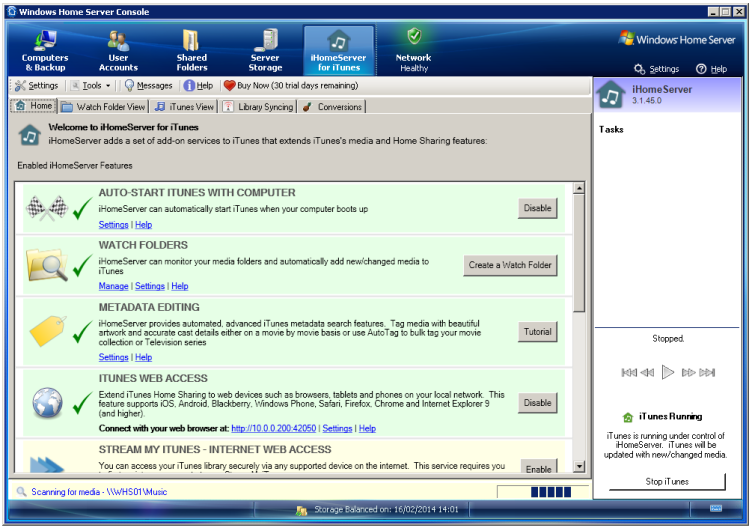
iTunes will now be started on your server and will continue to run when you close the Dashboard:
-