To install iHomeServer on your Windows Home Server 2011 server:
-
Download iHomeServer from our web site -
www.bizmodeller.com - to the computer you normally use to manage your WHS Server. When you are on the download site, please ensure you correctly select your Operating System from the drop down list as the installation media is different per OS.
-
Double-click the downloaded file (iHomeServer.wssx) - the WHS Add-in installation process will start:
-
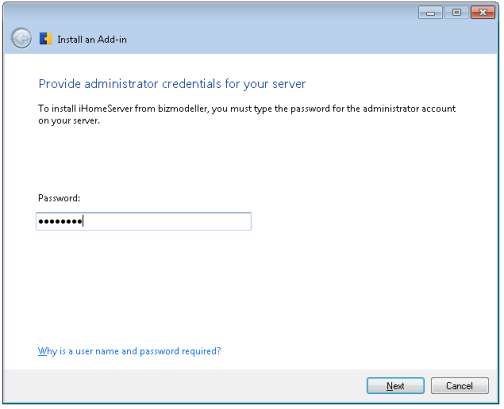
Enter your server's Administrator password; you will then be prompted to accept the bizmodeller Terms and Conditions:
-
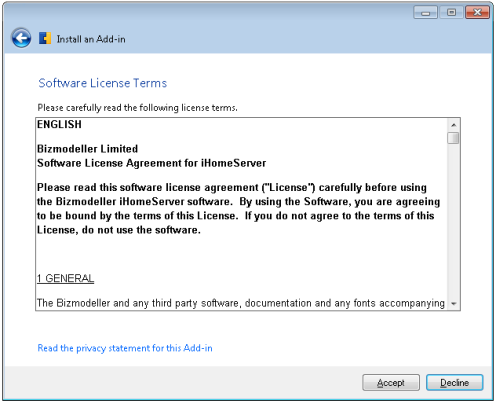
Review the terms and click 'Accept'. The wizard will show the next screen:
-
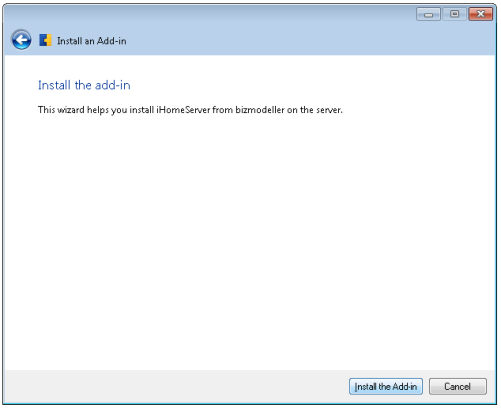
Click 'Install the Add-in' and WHS will complete the installation.
-
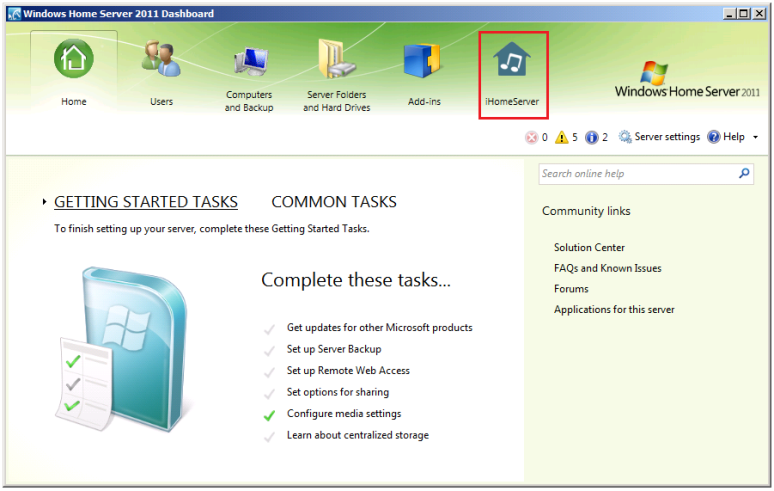
Once installed, log into your WHS Dashboard:
-
Click on the iHomeServer tab. iHomeServer will initially check that the installation pre-requisites have been met:
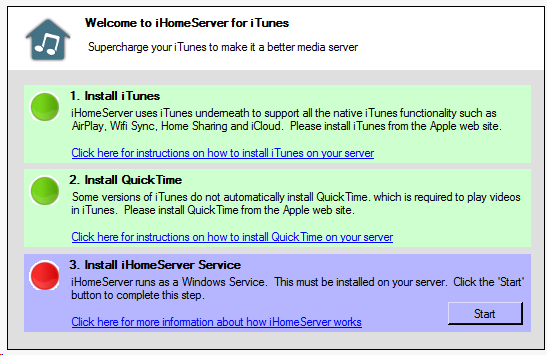
-
-
-
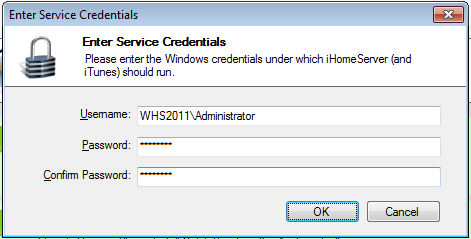
Enter your username in the form [SERVERNAME]\[USERNAME] eg WHS2011\Administrator, and click 'OK'
-
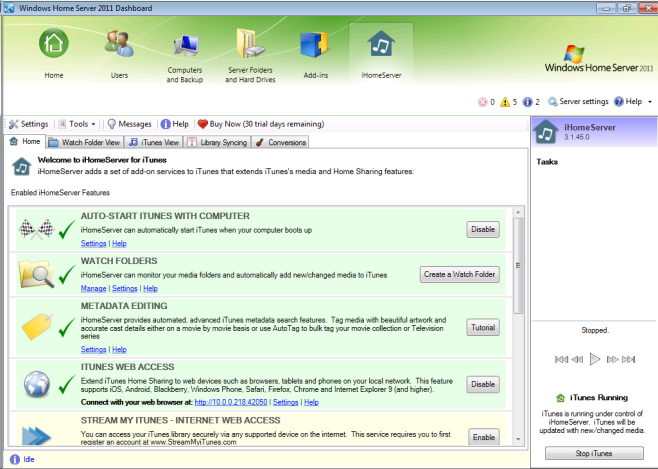
iTunes will now be started on your server and will continue to run when you close the Dashboard:
-