Installing iHomeServer on Desktops - Windows 8, 7, XP, Vista, Server
To install iHomeServer on a normal Windows desktop computer, such as Windows 8.1/8/7/XP/Vista or Windows Server 2003/2008/2012 follow the instructions below. If, instead, you want to install iHomeServer on Windows Server 2012 Essentials, Windows Home Server 2011 or Windows Home Server v1 then please click here for instructions on how to install iHomeServer onto
Windows server operating systems.
-
Download iHomeServer from our web site -
www.bizmodeller.com - to your computer. When you are on the download site, please ensure you correctly select your Operating System from the download table as the installation media is different per OS. The installation media is also different depending on whether you are running a 32-bit or 64-bit variant of the Operating System. Note that the screen-shots below are from the 64-bit version, however, the 32-bit installation process is identical.
-
Open the downloaded MSI and click 'Run'
-
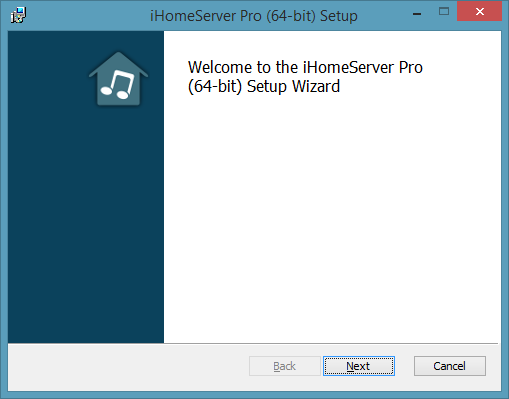
Click 'Next' to progress to the End User License Agreement:
-
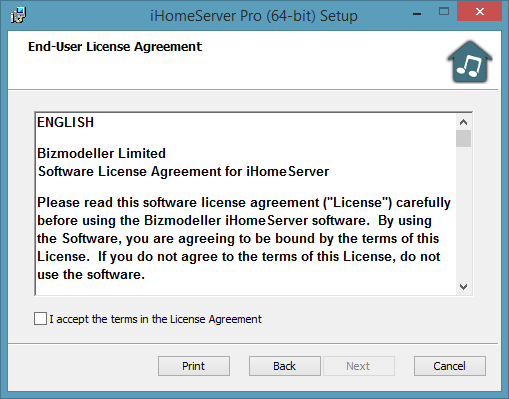
Review and accept the terms in the License Agreement, then click 'Next':
-
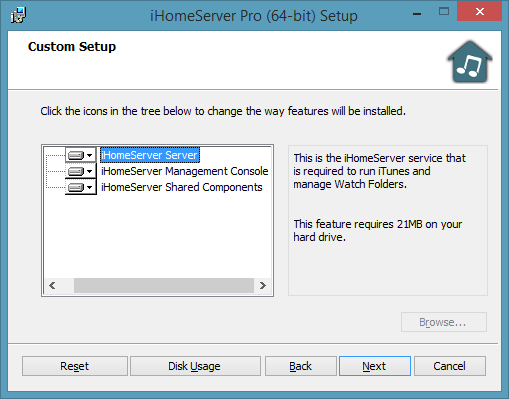
Click 'Next' to confirm to the next screen:
-
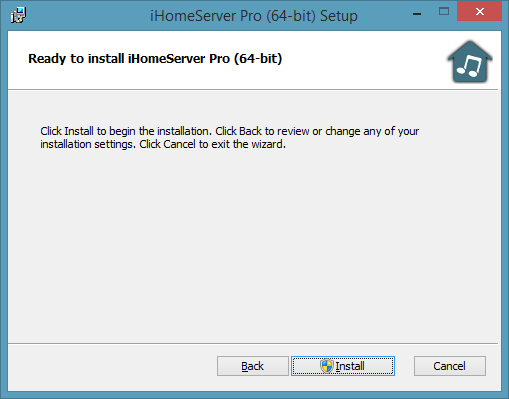
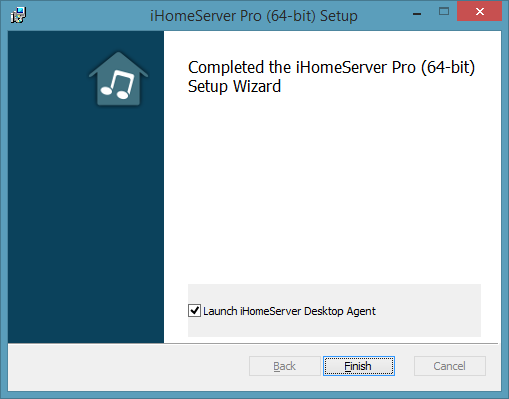
Click 'Install' to begin the installation. Installation will create the iHomeServer Windows Service. When installation is complete, the following screen will be displayed:
-
Click 'Finish' to close the installation.
-
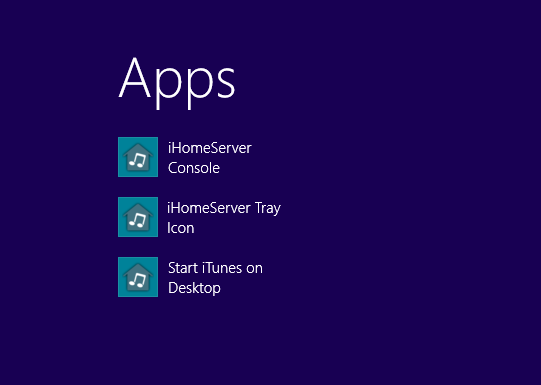
Go to your Start menu and search for 'iHomeServer' and you will see three new shortcuts created:
-
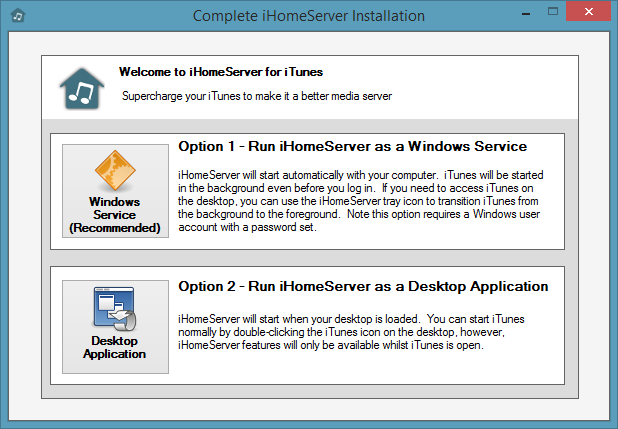
When you will first run the iHomeServer Management Console, you will see the following screen to select which type of installation you wish to proceed with:
-
Refer to the topic '
Windows Service or Desktop Installation Mode' to decide which installation mode you wish. Most server users should select 'Option 1 - Run iHomeServer as a Windows Service' whereas desktop users may prefer 'Option 2 - Run iHomeServer as a Desktop Application'.
-
Once you have you made your selection, iHomeServer will initially check that the installation pre-requisites have been met. If not, it will prompt you for any additional steps that are required for your system.
-
-
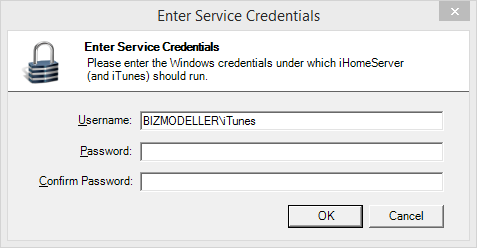
If you chose 'Option 2 - Run iHomeServer as a Desktop Application', in step [9] then iHomeServer will start up in the background and the iHomeServer Console will open automatically (see Step 16 below). If you chose 'Option 1 - Run iHomeServer as a Windows Service', you will be prompted to enter the username and password under which the iHomeServer service will be installed. This account will also be used to run iTunes so should
correspond to the User Account you used when you configured iTunes:
-
Enter your username in the form [COMPUTERNAME]\[USERNAME] eg MyComputer\Administrator, and click 'OK'
-
iHomeServer will now start up as a Windows Service and launch iTunes in the background. The iHomeServer Console will now start on your computer:
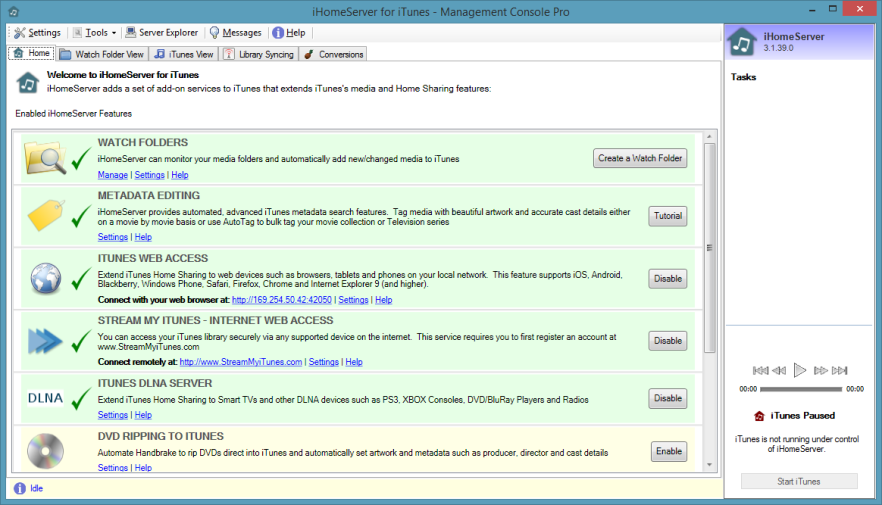
-
