Logging onto your server's desktop
To perform some steps of the installation, you need to log on to your Windows Home Server's desktop. The instructions are the same regardless of whether this is Windows Server 2012 Essentials, Windows Home Server 2011, Windows Home Server v1 or another flavour of Windows Server.
To log on to your Server via Remote Desktop Connection, follow these instructions:
-
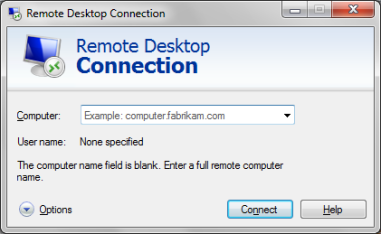
Select the Start menu, Accessories then choose 'Remote Desktop Connection'. The following screen will appear:
-
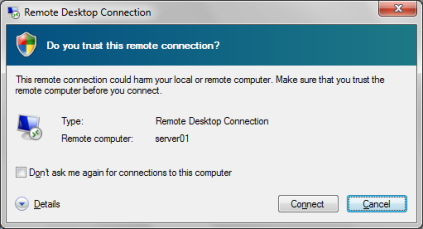
Enter your server's servername in the 'Computer:' box and click 'Connect'; you will then see the following window:
-
Click 'Connect to this Window. You will then see a further window requesting security credentials:
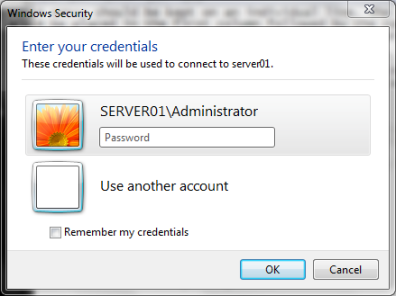
- If you are logging into the server to install some software, you should ensure you log-in as an Administrator account.
- Alternatively, if you are logging in to configure or manage iTunes, ensure you log-in as the same user you have used to configure iHomeServer when it was initially installed.
-
Once again, click 'Connect' and you may be prompted with a warning that the identity of the remote computer cannot be verified. Click 'Yes' to this prompt.
-
You will now see the desktop of your server, from where you can install iTunes, or open iTunes interactively if it is already installed.
 Important Note
